Today's Action Plan
April 8, 2026
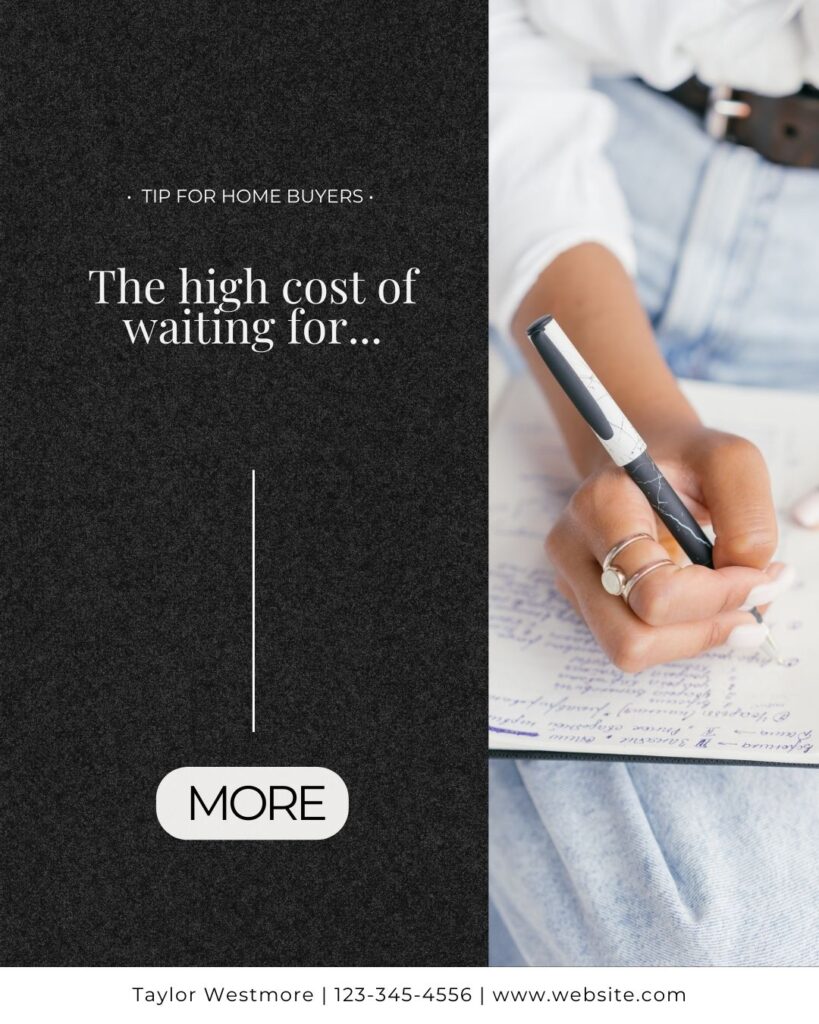
Waiting for the perfect home, rate, or deal can quietly cost your clients opportunities. Help them understand the trade-offs so they can move forward with confidence.
Content Calendar
Live Trainings & More
WHAT'S COMING UP
Join us for the next one on FEBRUARY 5TH @10am PT via Zoom
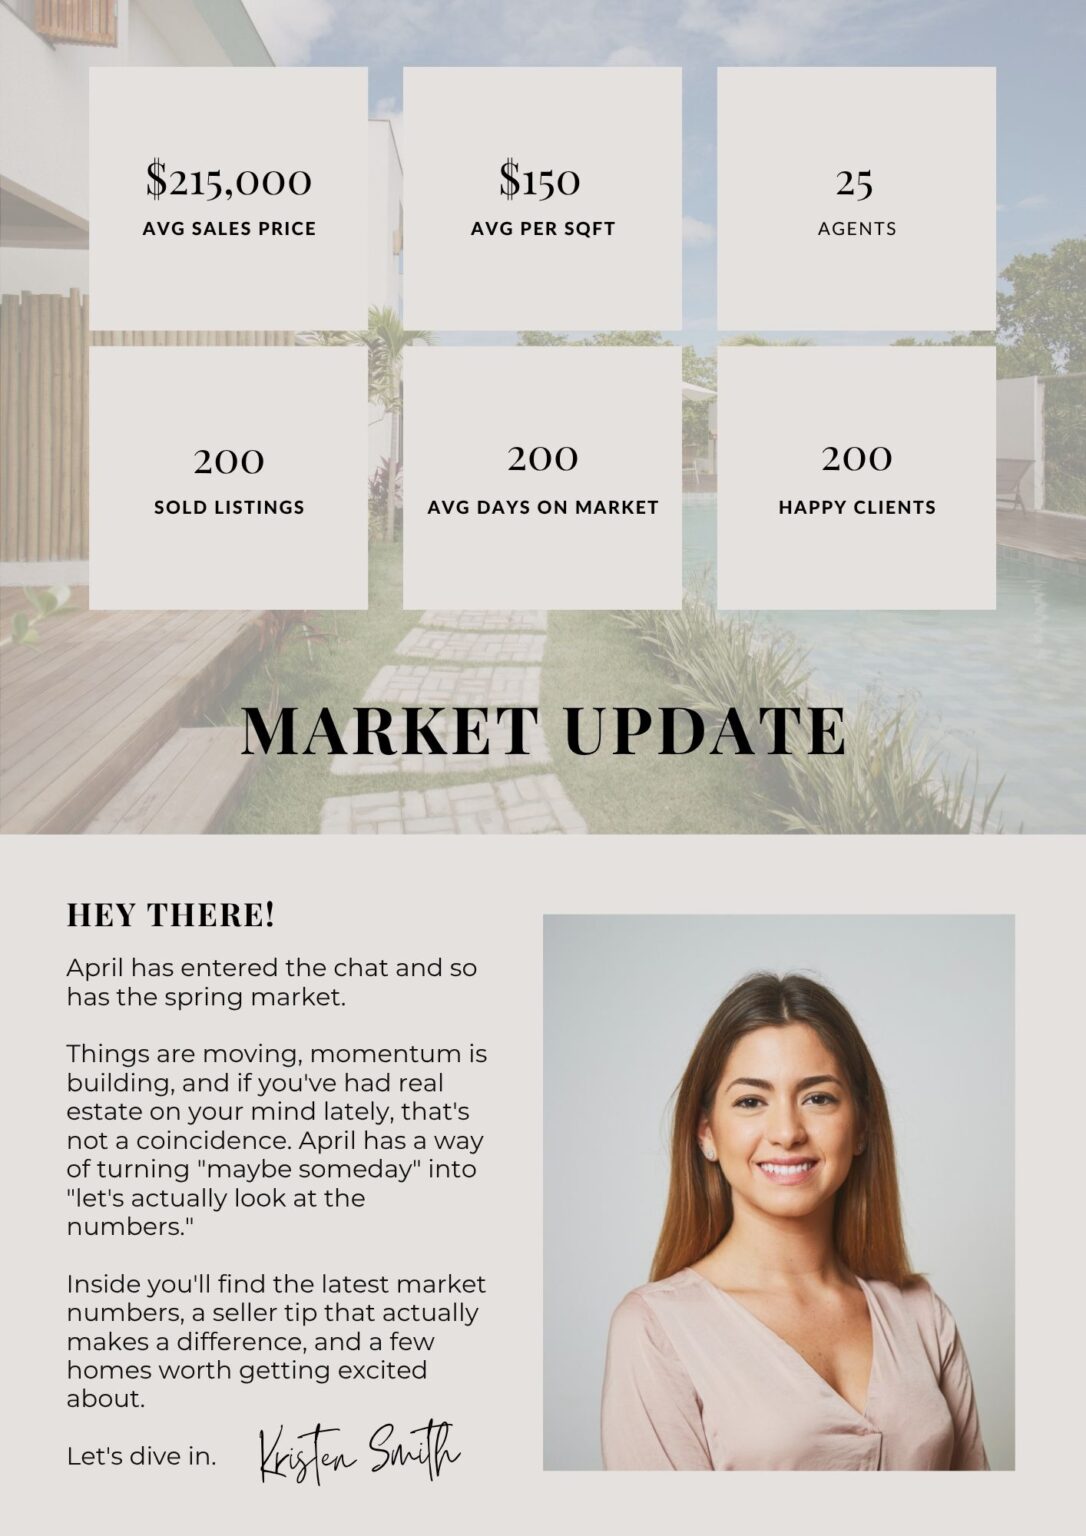
New Arrivals For April
(in addition to your content calendar)
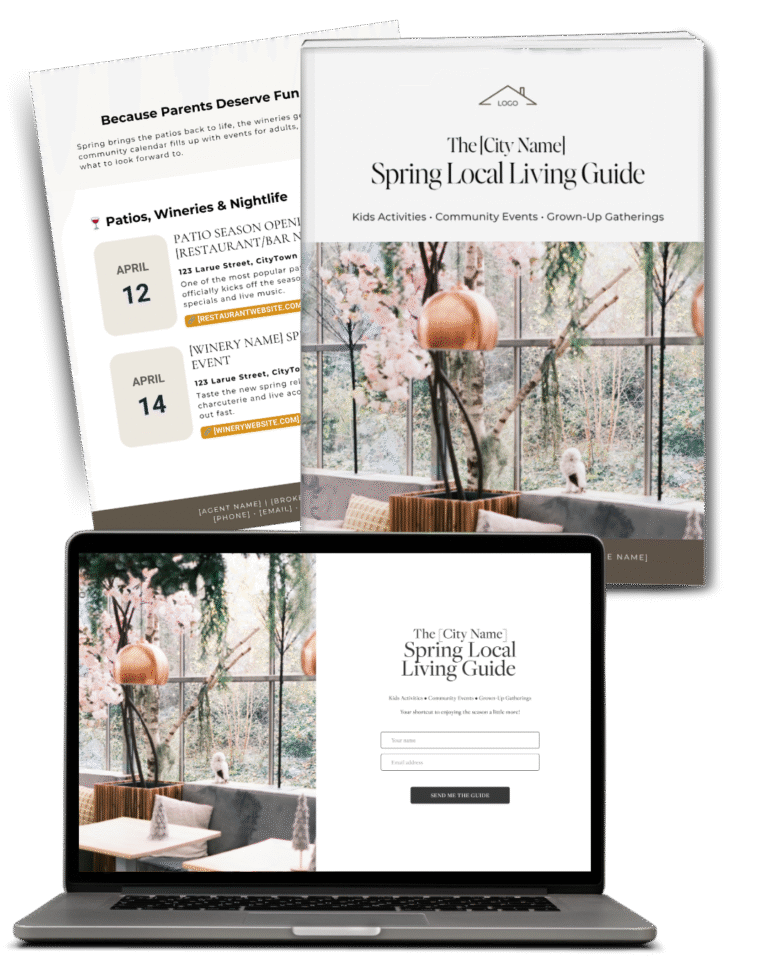
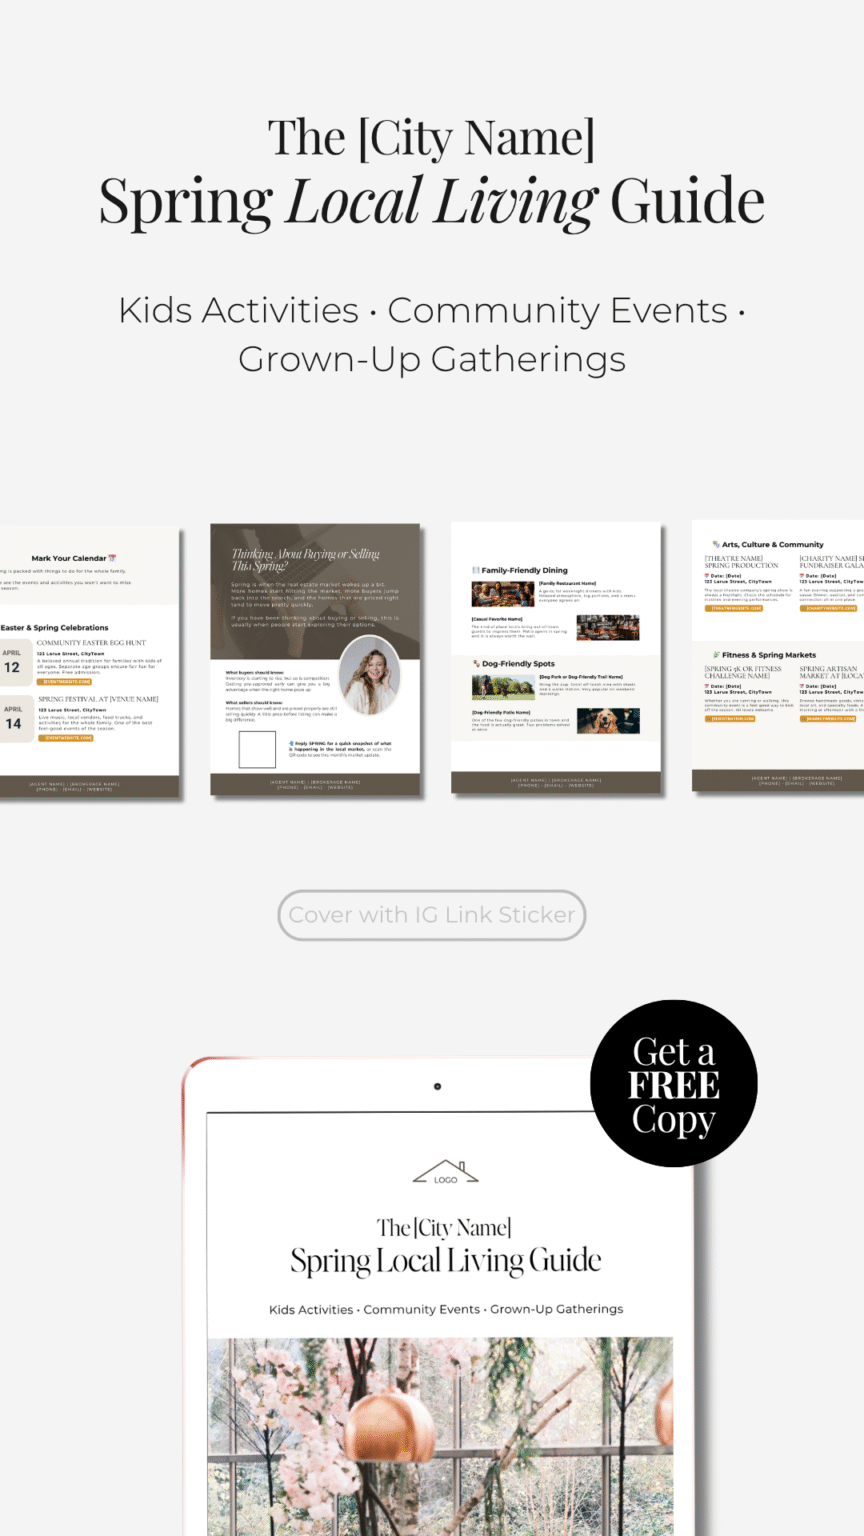
Lead Gen Campaign
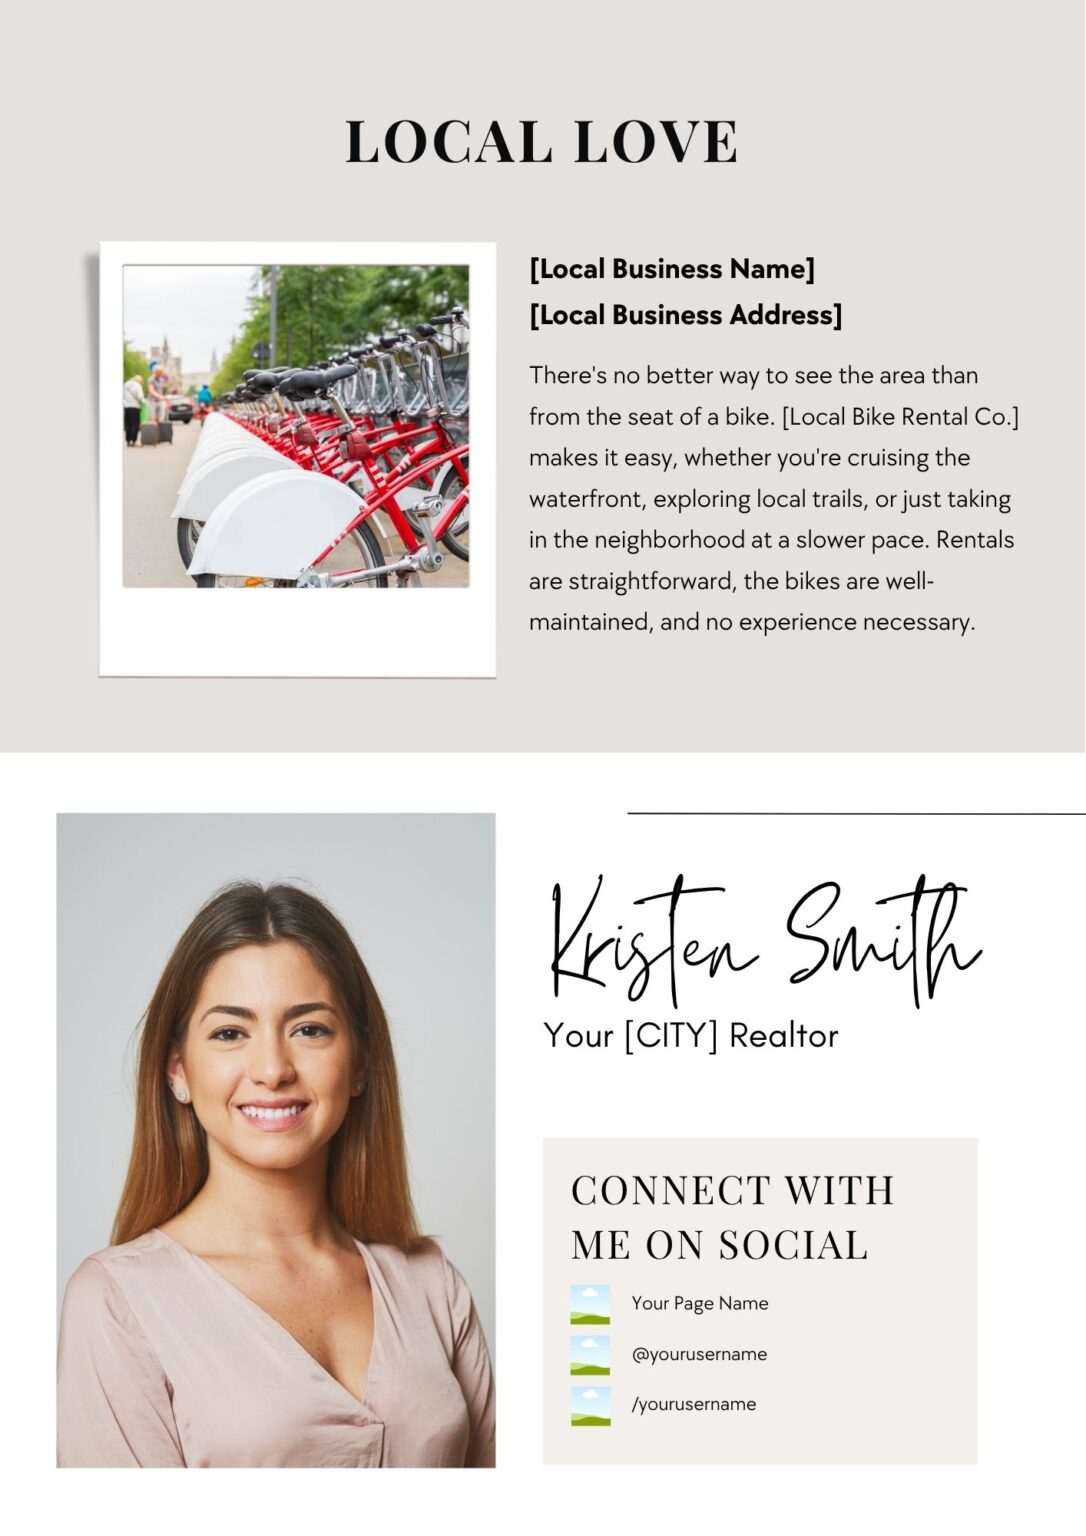
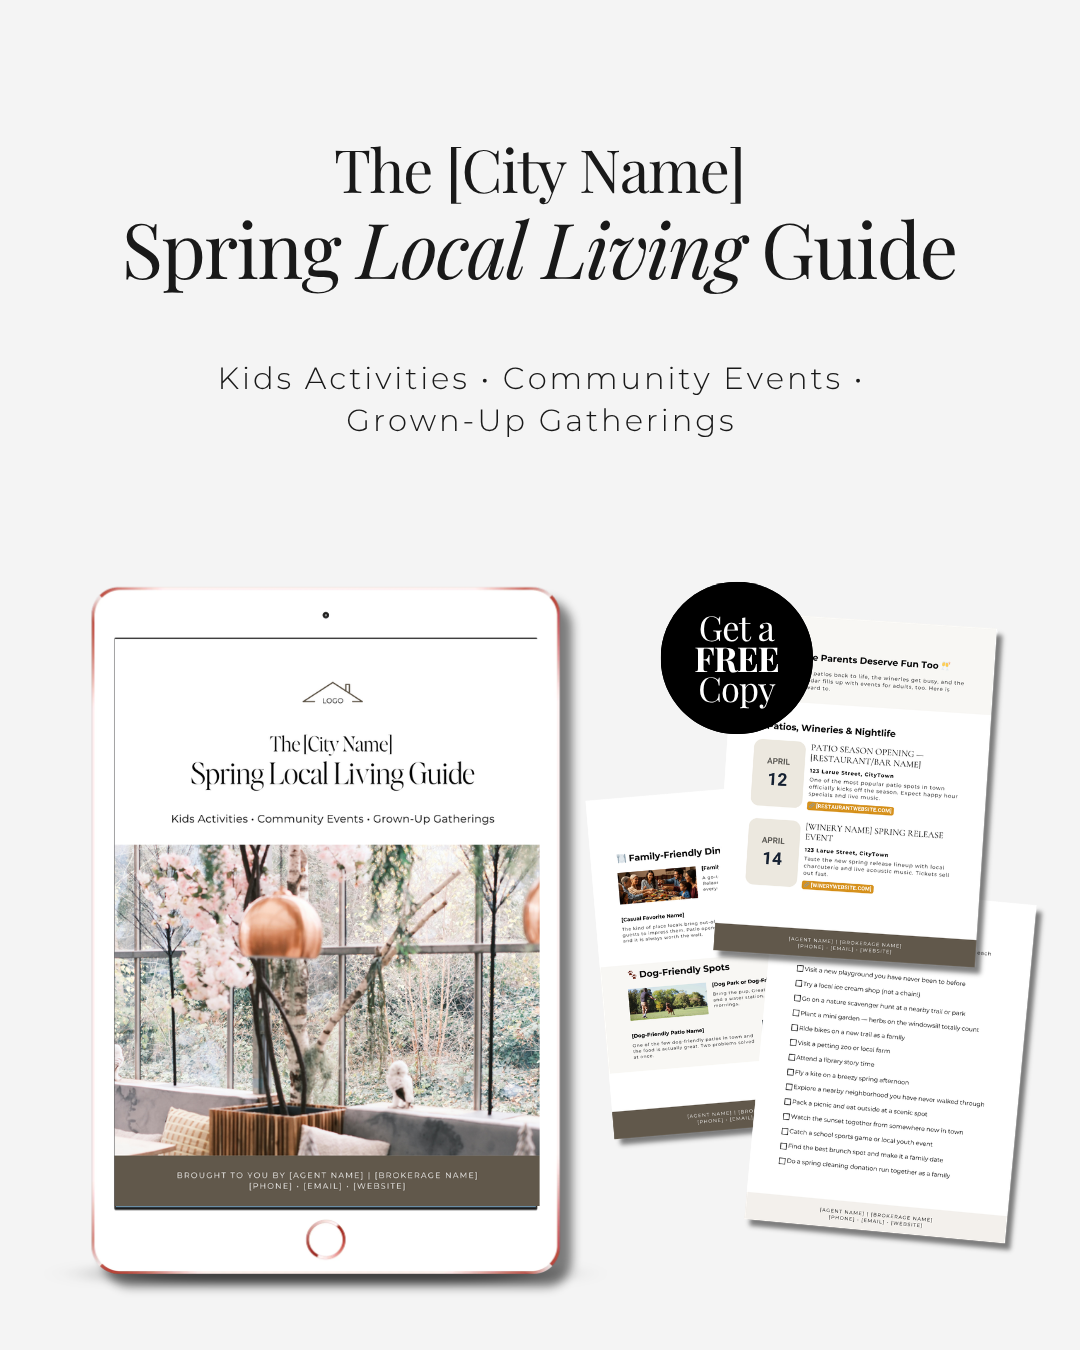
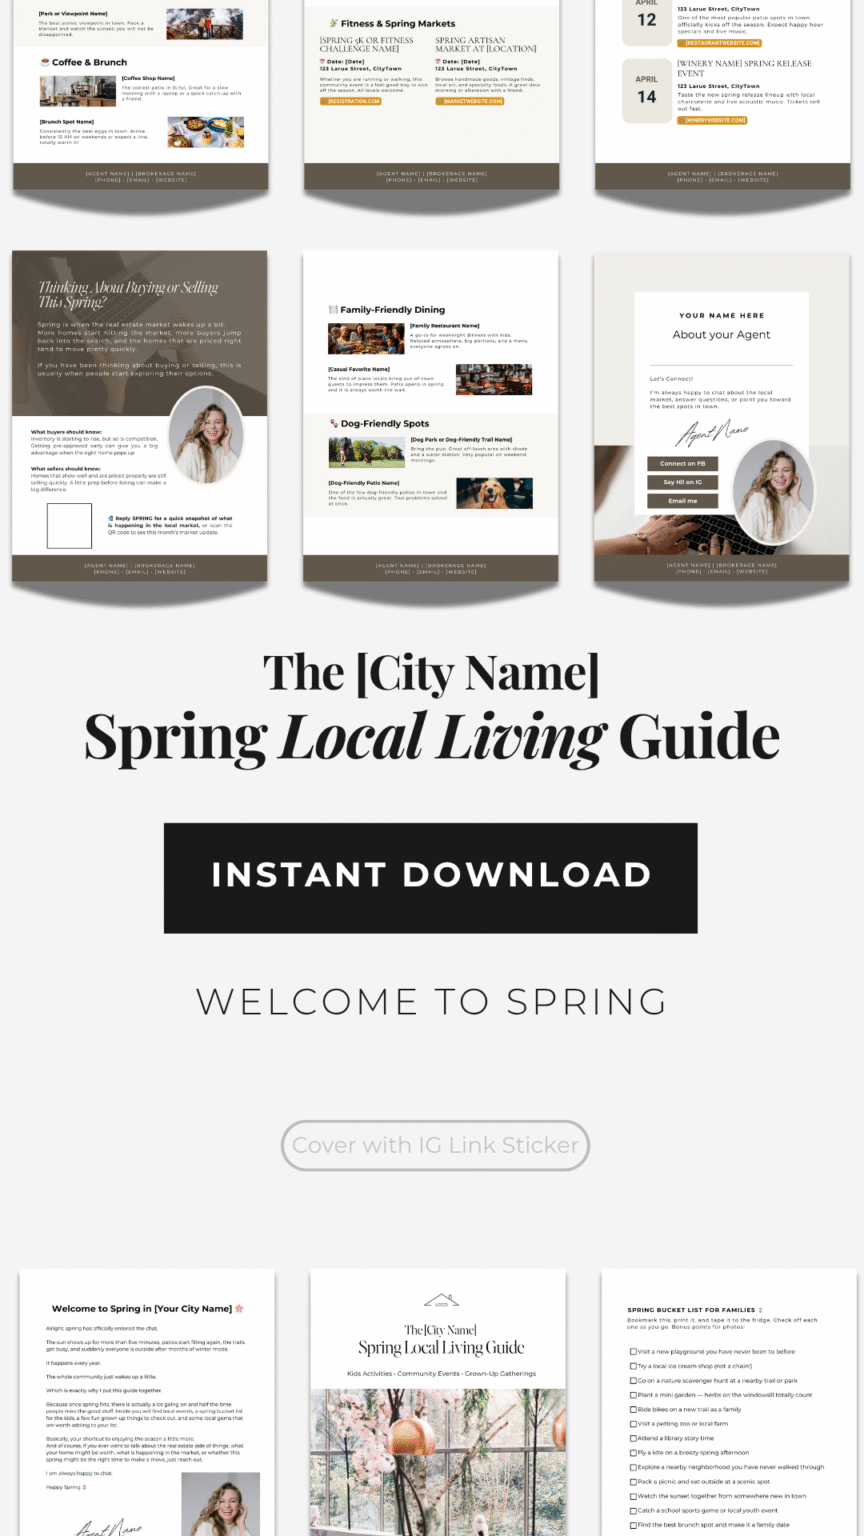
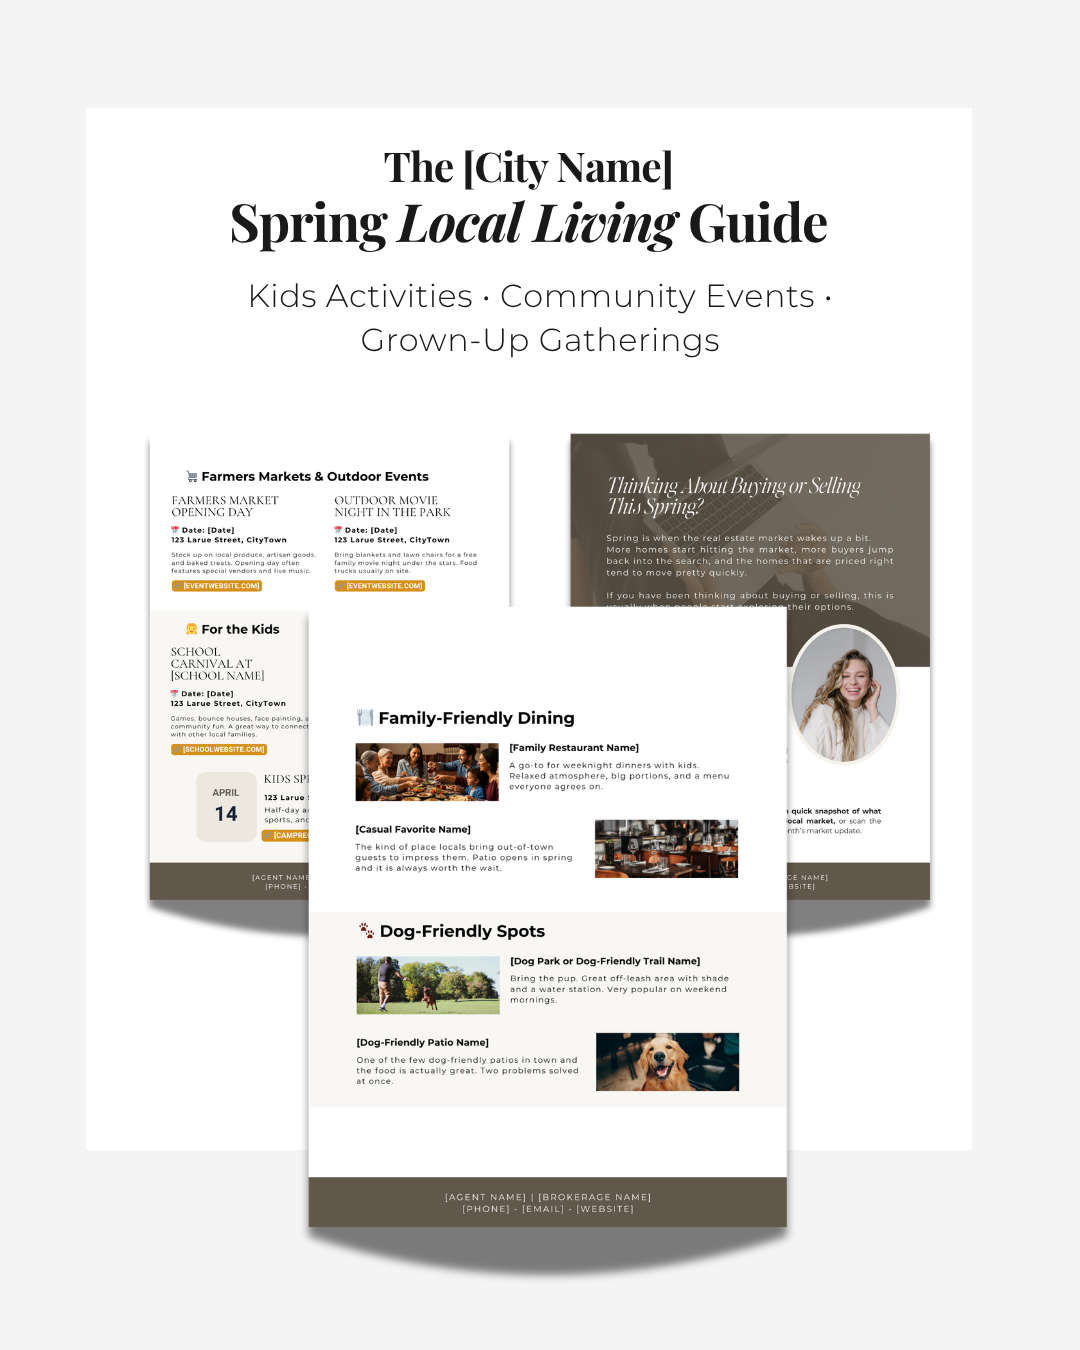
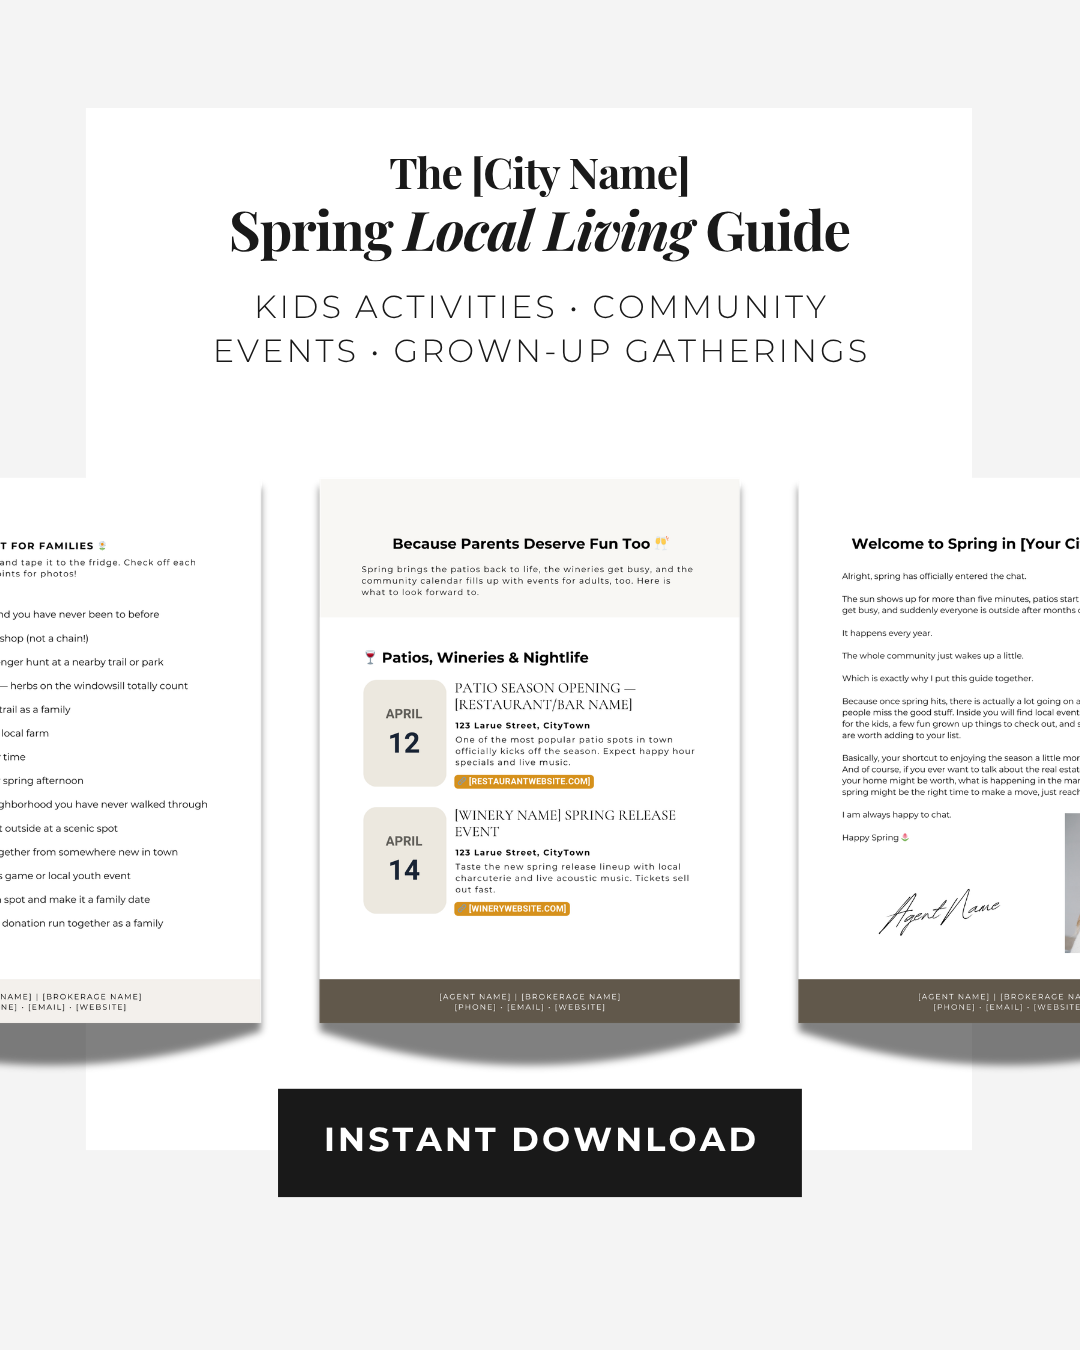
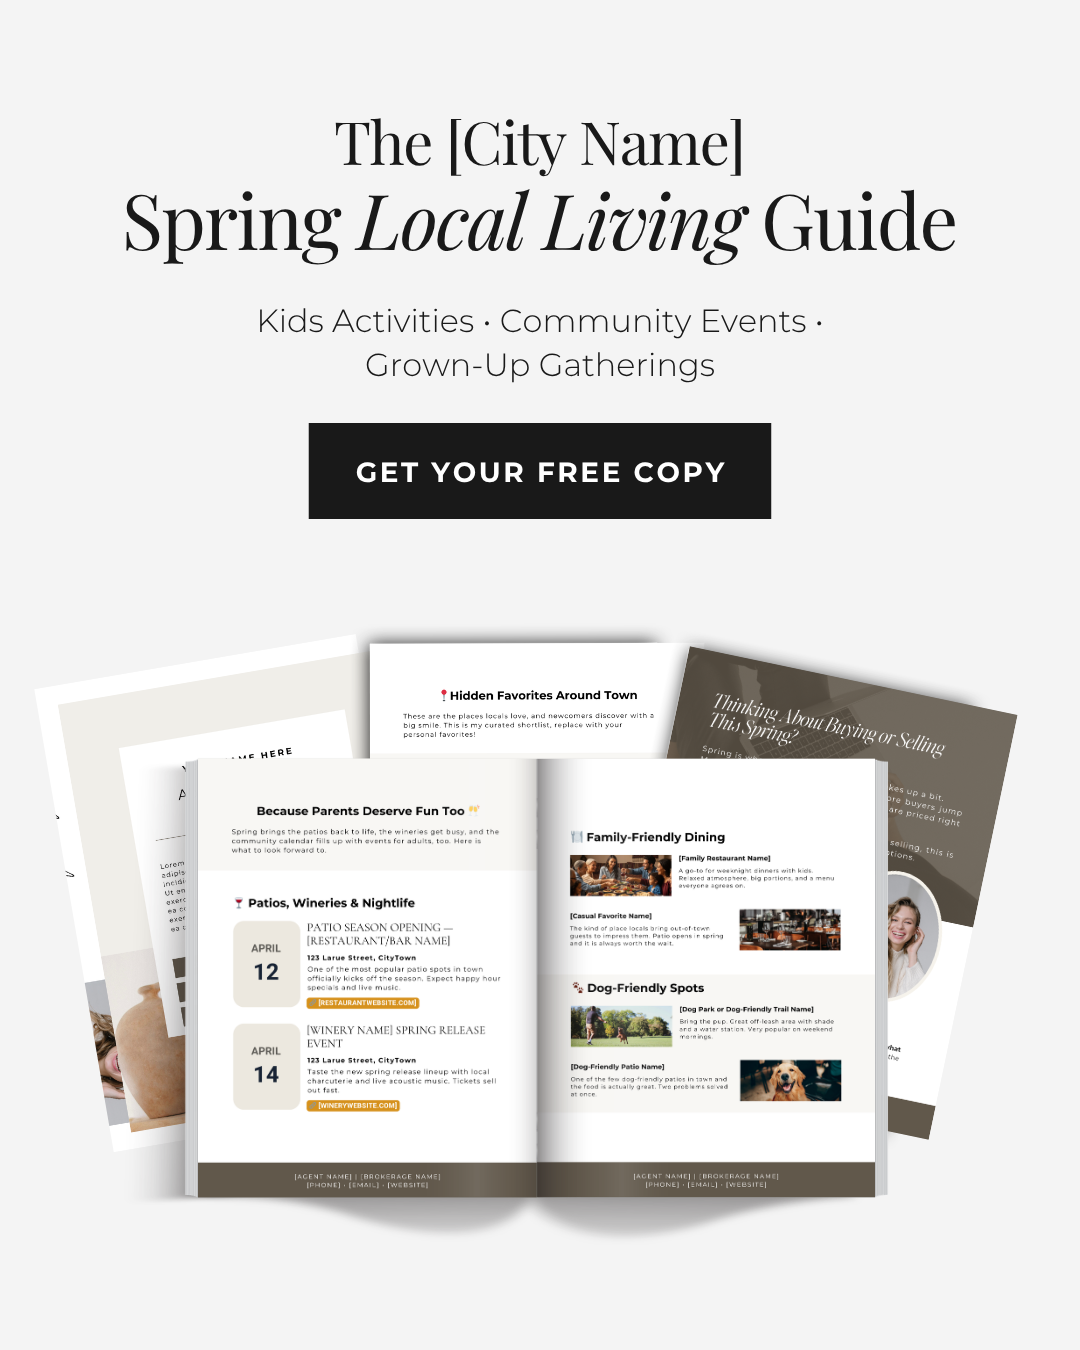
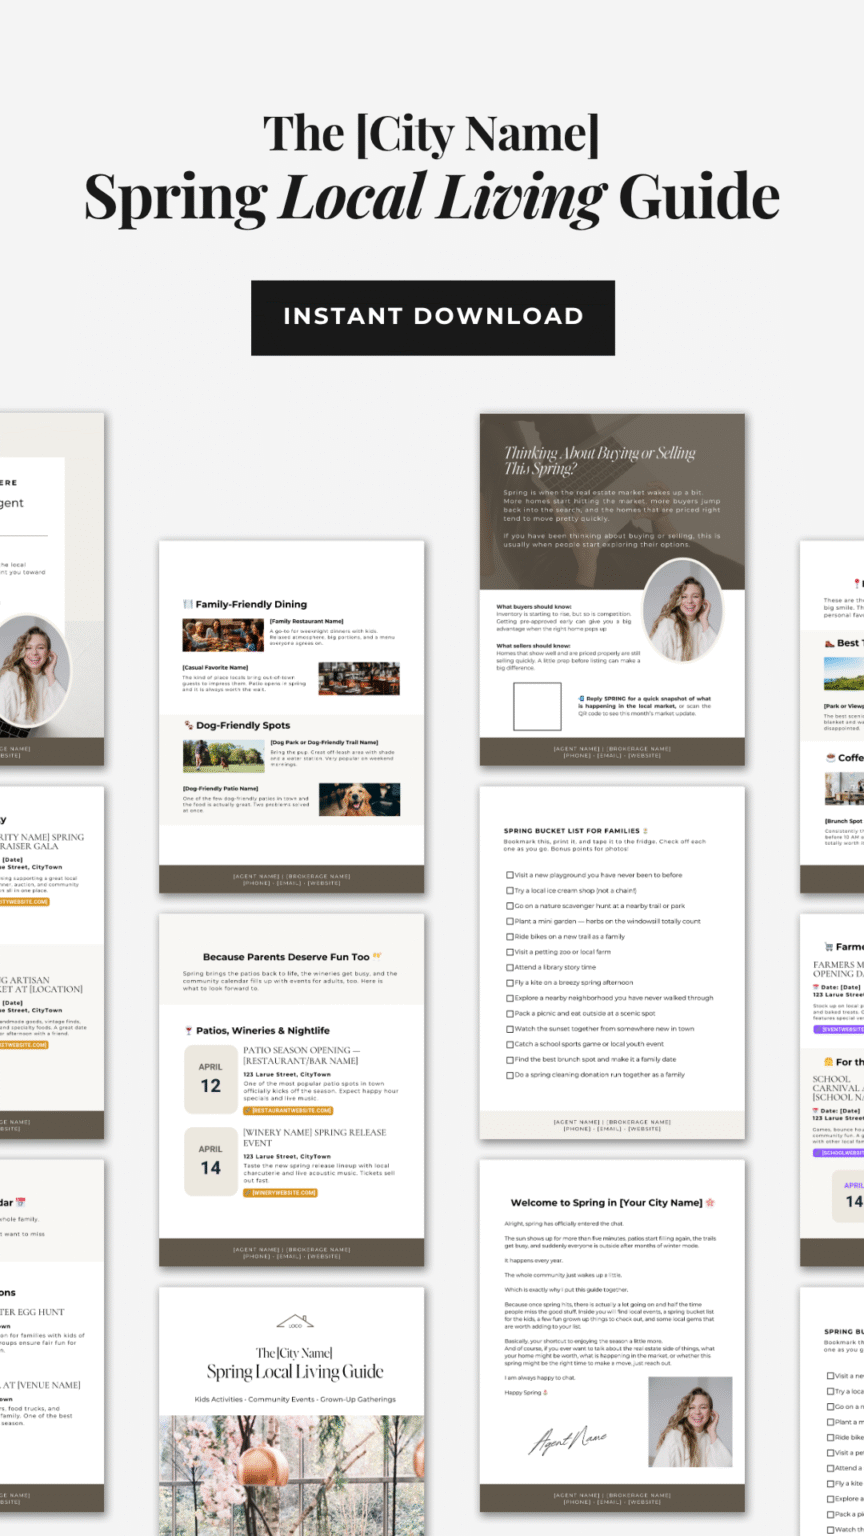
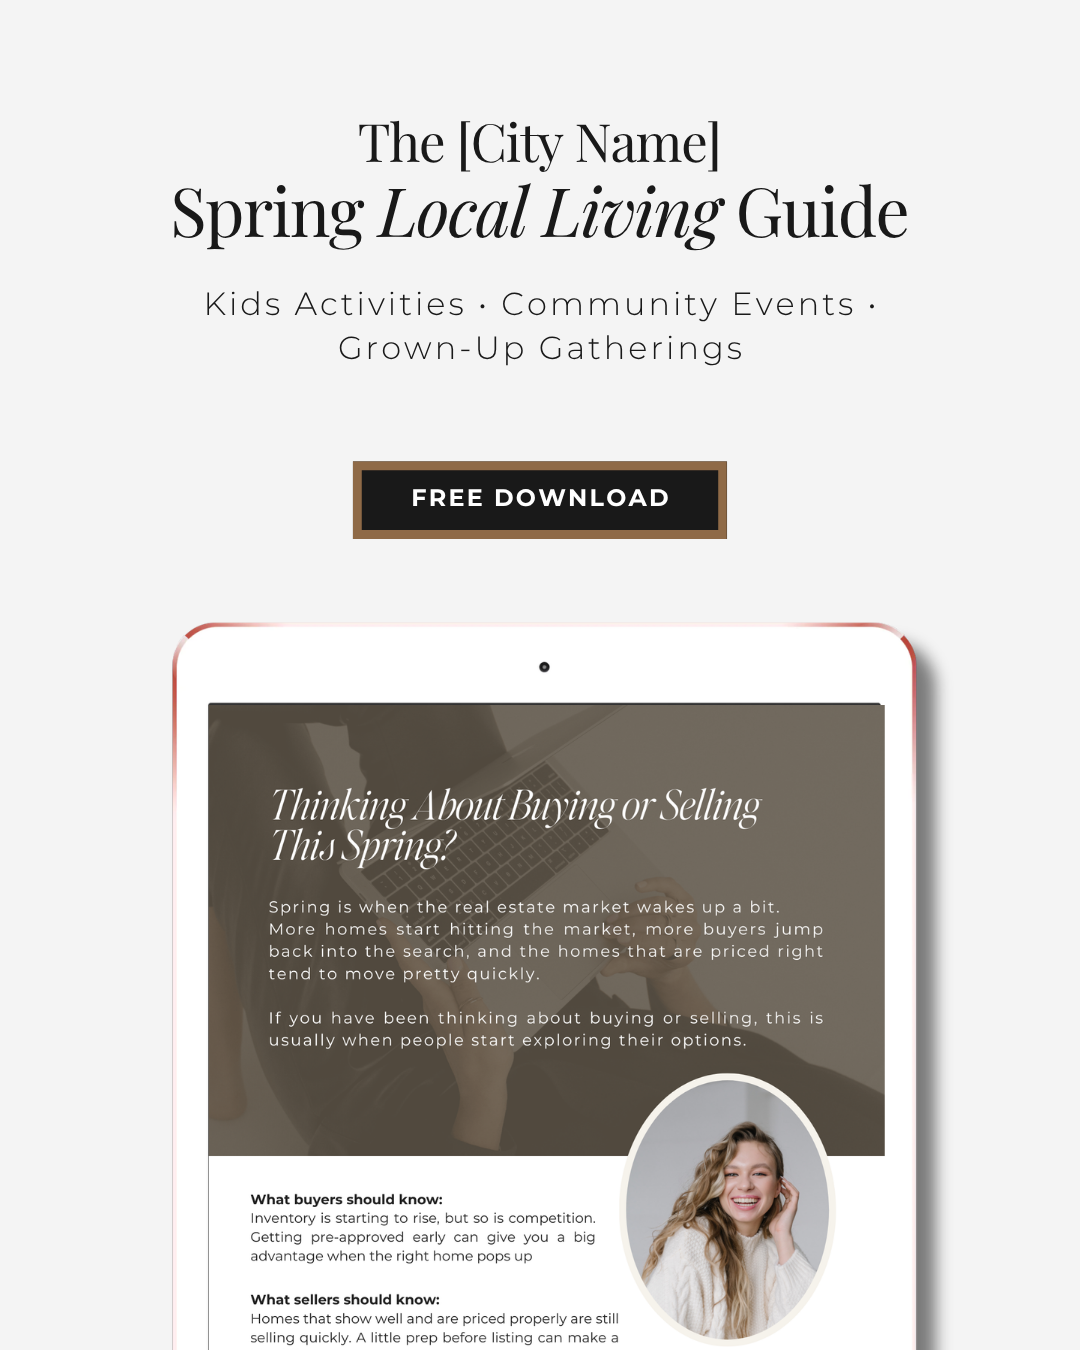
The [City Name] Spring Local Living Guide


YOUR WEEKLY
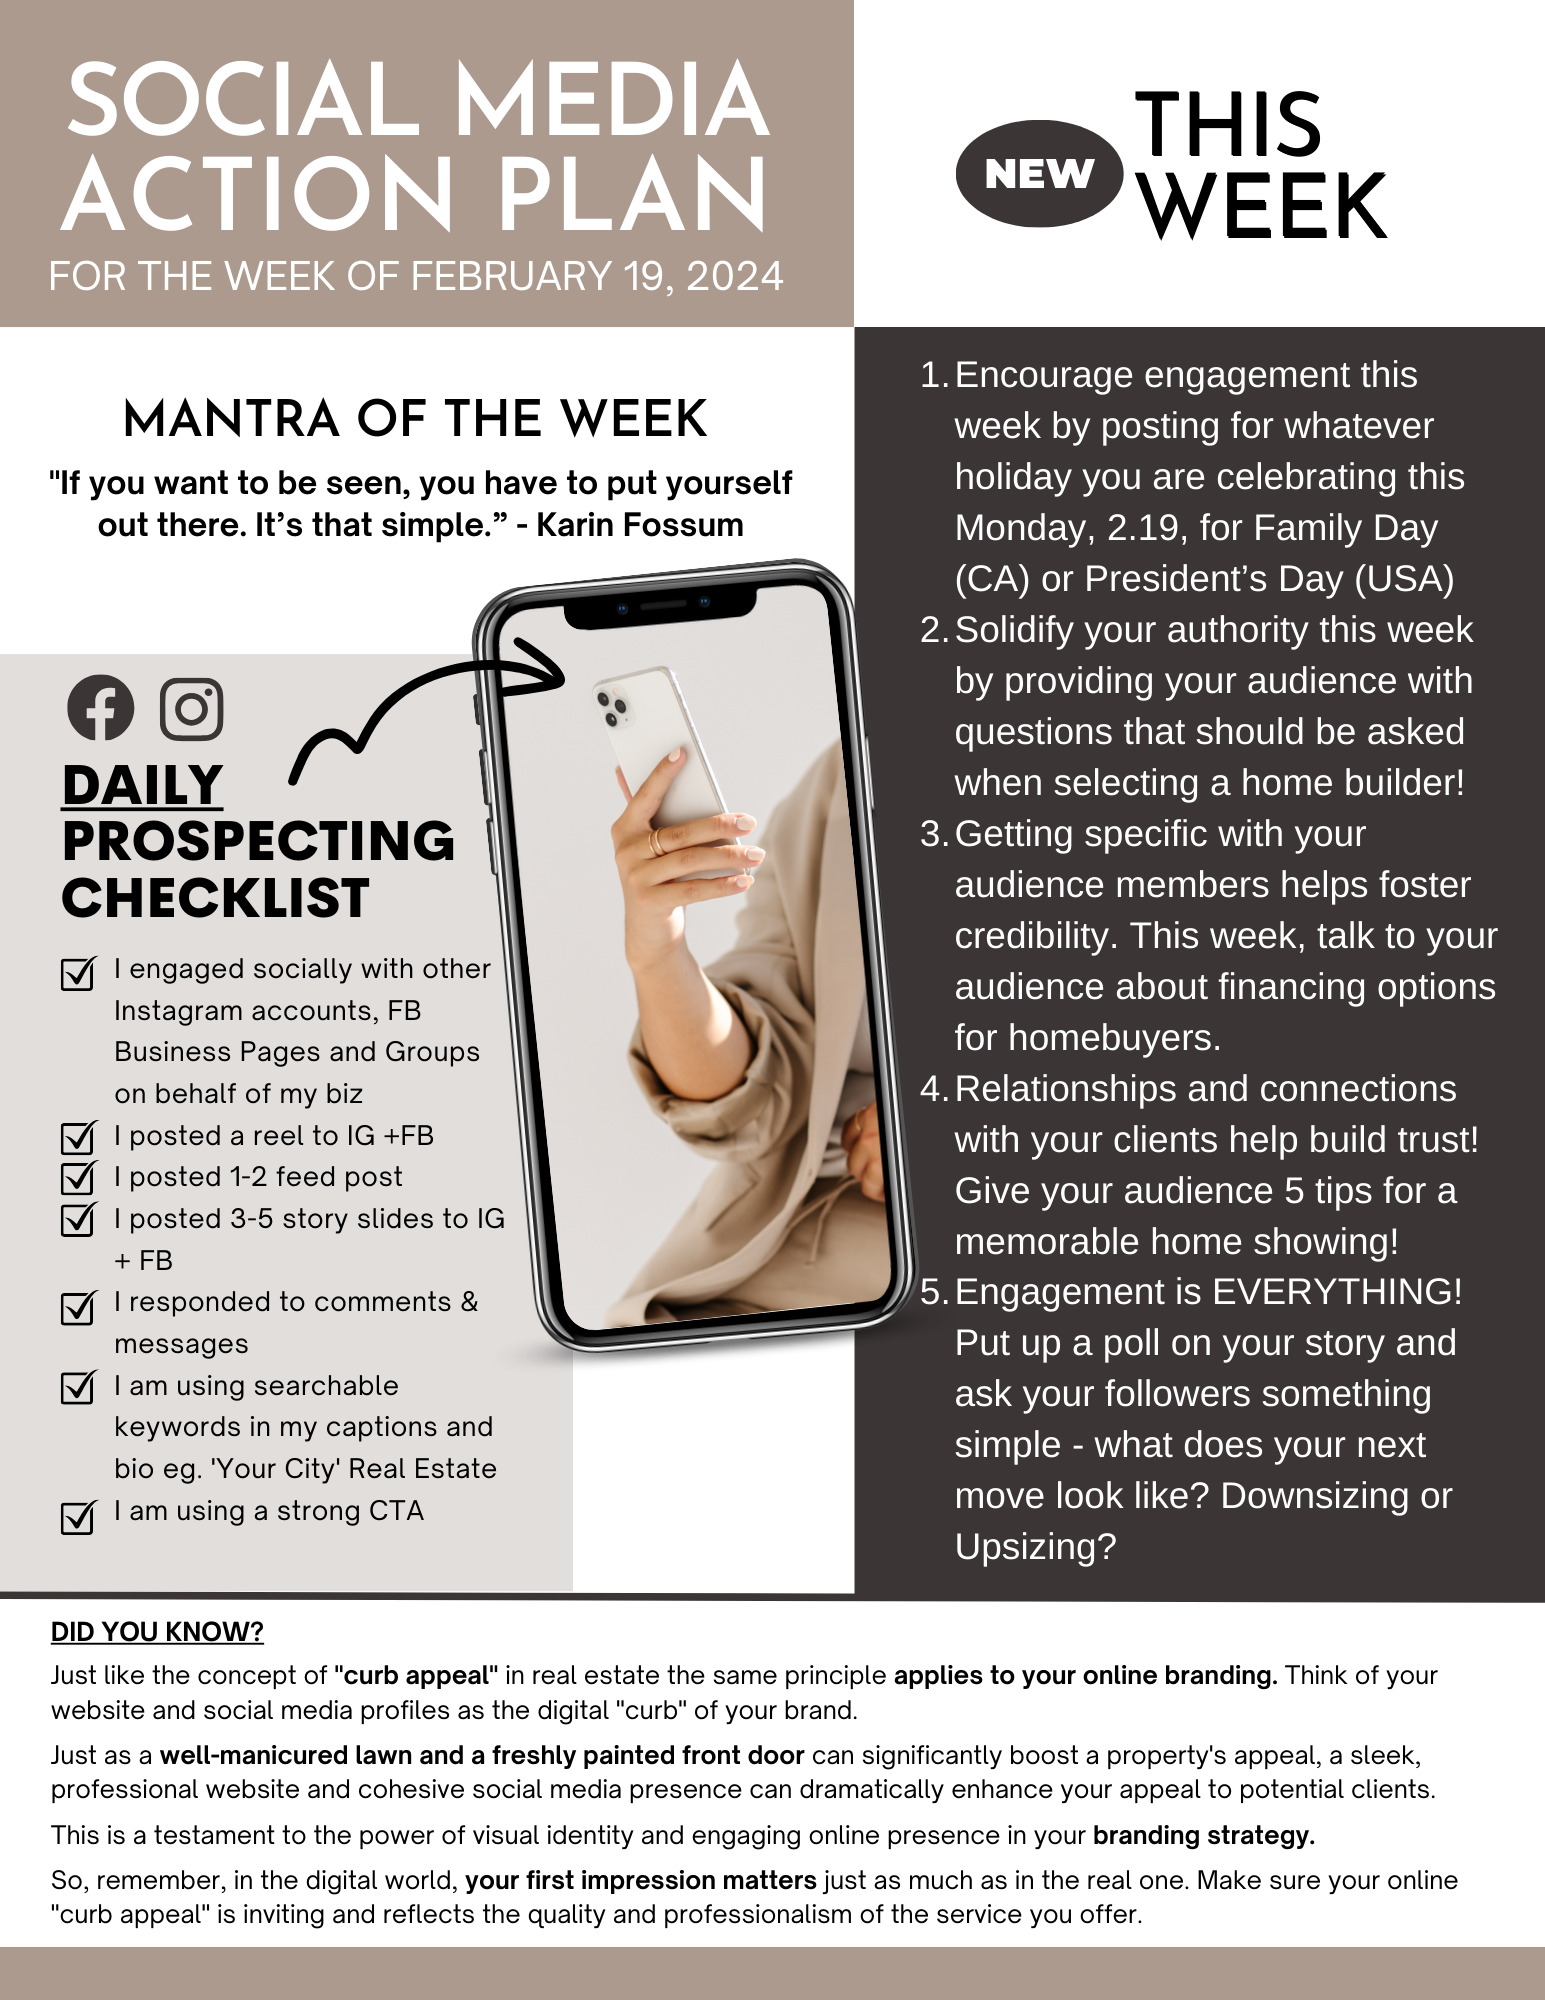
SOCIAL MEDIA ACTION PLAN
Did You Know
Instagram’s latest update lets your friends see which videos and Reels you like! This means your engagement habits are more visible than ever. For real estate agents, this is a game-changer.
By liking relevant industry content or local community posts, you’re subtly showcasing your expertise and connections. It’s another way to stay top-of-mind with potential clients while building trust.
YOUR WEEKLY SOCIAL MEDIA ACTION PLAN
Instagram’s latest update lets your friends see which videos and Reels you like! This means your engagement habits are more visible than ever. For real estate agents, this is a game-changer.
By liking relevant industry content or local community posts, you’re subtly showcasing your expertise and connections. It’s another way to stay top-of-mind with potential clients while building trust.
DAILY PROSPECTING CHECKLIST
How To's
Canva Quick Edits
🔍 How to Use Find + Replace Text in Canva
Update all those placeholders (like “[Agent Name]”) in one smooth move.
Step 1: Click “File” in the top toolbar and choose “Find and replace text”.
Step 2: In the search bar, type the text you want to swap (like “[City Name]”) and add your updated version.
Step 3: Choose “Replace All” to update everything in one go or hit “Replace” just to update one at a time.
🎨 How to Change Multiple Templates to One Color
Keep your branding consistent with just a few clicks.
Step 1: Select an element (like a background or shape) that has the color you want to change.
Step 2: Click the color tile in the top toolbar, then hit “Change All” at the bottom of the color panel. Canva will update every matching element in the design with your new color.
Step 3: Repeat this for any other colors you’d like to update (like text or accent colors).
💡Pro Tip: Use your Brand Kit (under “Brand” in the sidebar) to make sure you’re always picking your exact brand colors — no guesswork needed.
Pre-schedule Your Posts On Facebook and Instagram
📆 How to Pre-Schedule Posts using Meta Business Suite
Stay consistent on social without logging in daily.
1. Go to Meta Business Suite
Head to business.facebook.com/latest and log in to your account.
2. Click “Create Post”
You’ll find this on the homepage or in the left sidebar. Choose whether you want to post to Facebook, Instagram, or both.
3. Add Your Media
Add one photo or multiple photos.
4. Post Details
Write your caption and add your hashtags.
*Pro Tip: Make sure you are localizing your hashtags. Don’t just use #realestateagent, use #[yourcity]realestateagent (#dallasrealestateagent) for example.
5. Scheduling Options
Toggle the button and pick the date and time you want your post to go live.
6. Hit “Schedule” and Done!
Your post is officially scheduled. You can find and edit it later under “Content” in the menu.
Pre-schedule Stories On Facebook and Instagram
📲 How to Schedule Stories Using the Meta Business Suite App
1. Open the Meta Business Suite App
Download it from the App Store or Google Play if you haven’t already, and log in to your business account.
2. Tap the “+” (Create) Button
At the bottom center of your screen, hit the + icon and select Story.
3. Upload Your Story Content
Add your images or videos just like you would for a regular Story. You can also add text, stickers, and effects if needed. Click next.
4. Choose Where to Post
Pick the Facebook Page and/or Instagram account where you want your Story to go.
5. Choose Your Scheduling Options
Instead of publishing now, tap the option to Schedule for later, then select the date and time.
6. Confirm + Schedule
Tap Schedule and boom—your Story is officially on autopilot.
Pre-schedule Reels On Instagram
🎥 How to Pre-Schedule Your Reels in the Instagram App
1. Create Your Reel
Open the Instagram app and tap the + icon → choose Reel. Record your clips or upload from your camera roll hit next twice and then edit as usual (music, text, captions — go wild).
🚨 PRO TIP: Make sure you are choosing trending music to add to your reel to give it that extra boost.
2. Add Captions, Hashtags and Location Tag.
Once your Reel is ready, tap Next to get to the final share screen (where you add your caption, hashtags, location tag etc.).
3. Tap “Advanced Settings”
Scroll to the bottom and tap More Options and then scroll about half way down to Schedule this reel.
4. Toggle On “Schedule This Reel”
Switch on the “Schedule this reel” option. Choose the date and time you want it to publish.
5. Go Back and Tap “Schedule”
Once the time is set, tap the back arrow and hit “Schedule” in the main posting screen. You’re all set!
How To Optimize Your Instagram
📲 How to Optimize Your Instagram Profile for Real Estate Success
Because a well-built IG = more eyeballs, more leads, and more trust.
1. Use a Clear, Close-Up Profile Photo
Your face is your brand. Choose a clean, professional headshot with a plain background so it stands out in the scroll.
2. Fix Your Name + Username (They’re Not the Same!)
Username = your @handle (example: @tracyrealtor).
Name field = searchable! Use keywords like “Tracy | Calgary Real Estate” so people can find you when they search your city + real estate.
3. Choose a Category That Makes It Obvious
Tap “Edit Profile” > “Category” > and choose something like Real Estate Agent, Property Consultant, etc. This instantly tells visitors what you do.
4. Make Your Bio Work for You (You’ve Got 150 Characters—Make ‘Em Count)
Tell them who you help and how you help them
Highlight a unique trait or personality
Add credibility with something you’ve achieved
Keep it clear, not cluttered. Bonus points for emojis 🔑🏡
5. Add a Call-to-Action (CTA)
Tell people what to do next: “Download my free home buyer checklist” or “Send me a DM to start your search.”
6. Use the Link in Bio Strategically
This is the only clickable link you get. Use it wisely:
Link to your website or current promo
Or use a tool like Linktree, Stan Store, or Canva Bio Links to share multiple links
7. Pin Your Best Posts to the Top of Your Grid
Think: testimonials, local guides, intro post, client wins. Tap the 3 dots on a post → “Pin to your profile.” This gives new visitors an instant taste of your value.
8. Create Story Highlights That Show Off Your Brand
Use highlights like: About Me, Buyer Tips, Listings, Testimonials, or Neighborhood Tours. Keep the cover images clean and branded.
9. Check These Bonus Settings
✔️ Public Profile: Tap the 3 bars > Settings & Privacy > Account Privacy > Make sure it’s public.
✔️ Add Contact Options: Tap “Edit Profile” > “Contact Options” → Add your phone, email, etc.
✔️ Connect to Facebook Page: Edit Profile > Page → Link your FB Business Page.
✔️ Switch to a Business/Professional Account: 3 bars > Settings > Account Type > Switch to Professional → This unlocks insights + scheduling tools.
How To Set Up Manychat
- Go to manychat.com.
- Log in using the Instagram or Facebook account that’s connected to your real estate business page.
- If you haven’t connected your Instagram account yet, follow the prompts to do so.
- Click on the “Automation” tab from the left-hand menu.
- Click the blue “+ New Flow” button.
- Name your flow something descriptive like “Open House Reply” or “Free Buyer Guide”.
- Click “Add Trigger”.
- Select Instagram Keyword as the trigger type.
- Type in the keyword someone would DM you (e.g., “OPEN”, “BUYER”, “LISTING”)—this is what will start the flow when someone comments you that word.
- Save the trigger.
- Add a message box by clicking “+” below the trigger.
- Type out your auto-reply. Example:
“Hey there! 👋 Thanks for reaching out about my open house. Here’s the info you asked for… [insert details].”
- You can add personalization (like their name) and emojis to keep it friendly and casual.
You can:
- Send a file or link (e.g., your buyer/seller guide hosted on Google Drive or Canva).
- Tag the user (e.g., “Interested in Open House”) so you can follow up later.
- Notify yourself when someone enters the flow.
- Once your message(s) and actions are set up, click the “Publish” button in the upper right.
- Your automation is now live!
- Head to your Instagram account.
- DM yourself the keyword you set (like “OPEN”).
- Make sure the auto-response fires correctly and looks good.
- Mention the keyword in your Reels, Stories, or captions. Example:
“Want the full open house list this weekend? Comment the word OPEN and I’ll send it right over!”
- Keep your keyword simple and easy to remember.
- Set up different flows for different freebies (buyer guide, seller checklist, open house info, etc.).
- Go back and edit your flow anytime to freshen it up or add new links.